Skip to content

Code Artisan Lab

Learn PHP, Python & JavaScript

  • Home
  • Services
    • Web Designing
    • Web Development
    • Mobile App Development
    • API Development
  • Softwares
  • Mobile App
  • Training
  • My account
  • Contact Us
  • Vendors
  • Enquiry Now

How to Deploy Mobile App on Google Play Console Easily

Publishing a mobile app on the Google Play Store is an essential step for reaching users across Android devices. Google Play Console provides a structured and secure platform for uploading, reviewing, and releasing your application to the public. Whether you’re launching your first app or updating an existing one, following the correct publishing process ensures smooth approval and visibility.

Below is a simple, clear guide covering all the important steps required to successfully deploy your mobile app on Google Play Console.

Steps to Deploy Mobile App on Google Play Console

1. Create a Google Play Developer Account

  • Visit Google Play Console and sign in with your Google account.

  • Pay the one-time registration fee.

  • Complete the required profile details.

2. Prepare Your App for Release

  • Build a signed release APK or AAB file.

  • Remove all debug logs and unused permissions.

  • Optimize and test your app thoroughly.

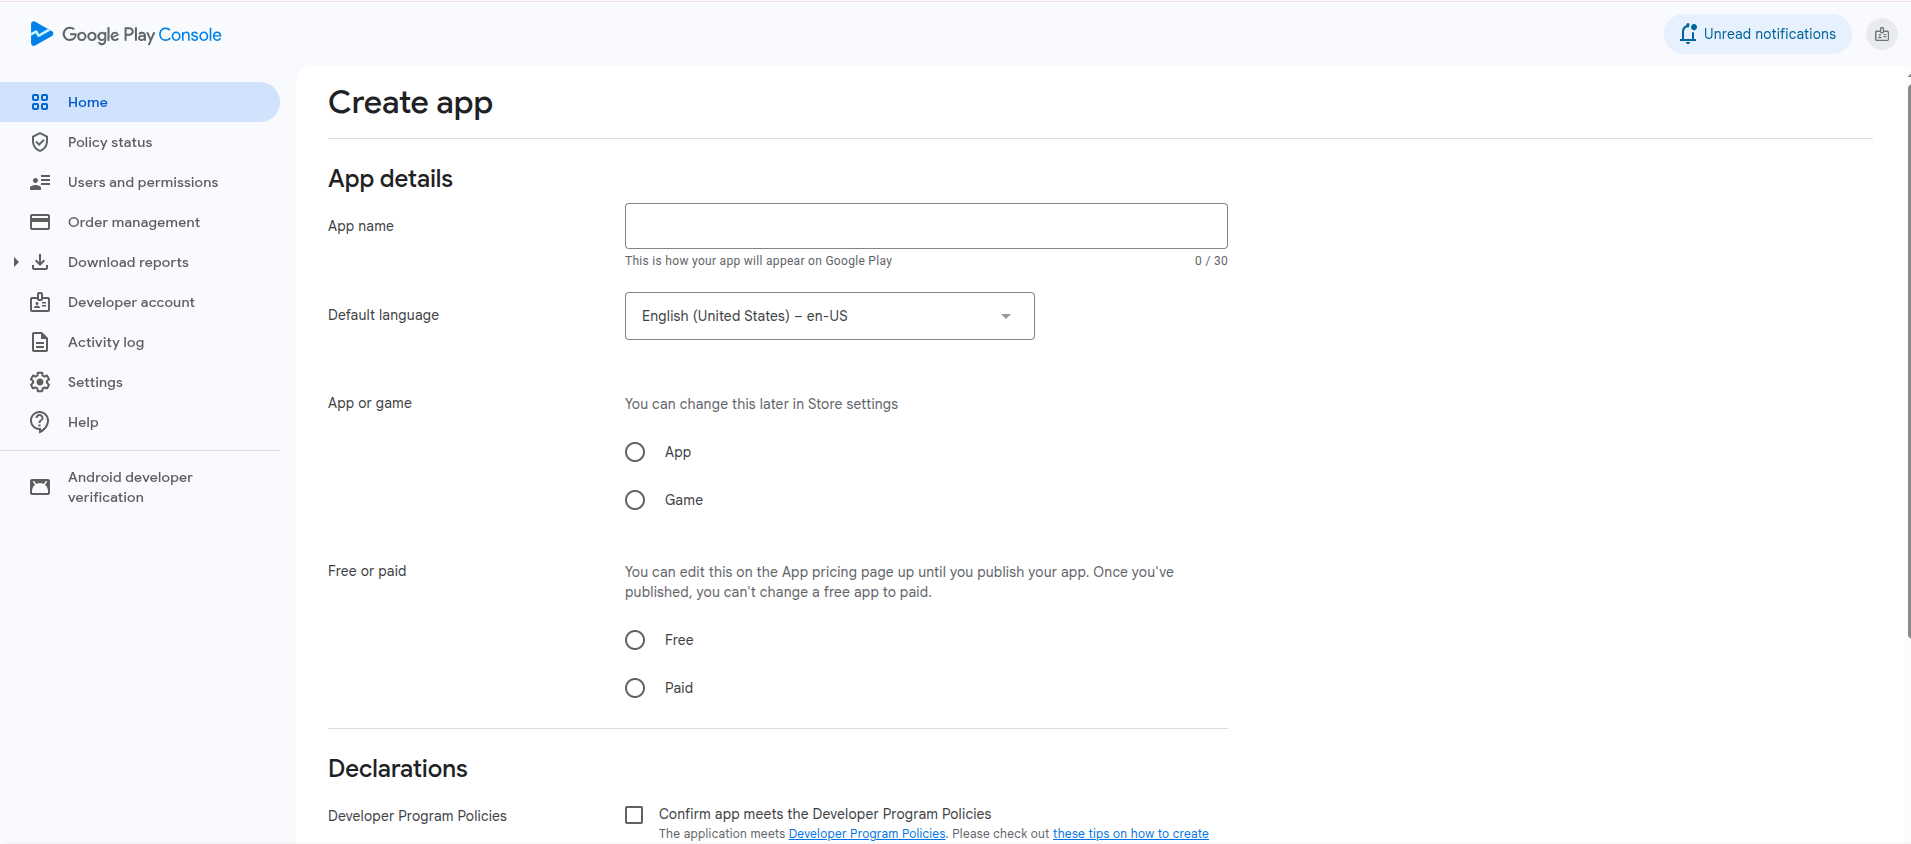
3. Create a New App in Play Console

  • Click “Create App” in the dashboard.

  • Choose a name, default language, and app type (App/Game).

  • Select your app’s category and declare compliance statements.

4. Complete the Store Listing

  • Add app name, short and full description.

  • Upload app icon, feature graphics, and screenshots.

  • Add privacy policy URL.

5. Set Up App Content & Compliance

  • Fill out content rating questionnaire.

  • Add age rating information.

  • Declare permissions your app uses (location, camera, Bluetooth, etc.).

  • Complete data safety form.

6. Upload APK or AAB File

  • Go to Production → Releases.

  • Create a new release and upload your signed AAB/APK.

  • Add release notes explaining what’s new.

7. Set Pricing & Distribution

  • Choose whether your app is free or paid.

  • Select the countries where you want the app available.

  • Enable or disable specific device categories.

8. Review and Fix Warnings

  • Check for policy warnings or missing information.

  • Resolve issues like missing privacy policy or incorrect permissions.

9. Submit for Review

  • After completing all requirements, click “Publish” or “Send for Review”.

  • Google will review your app (typically 24–72 hours).

10. App Goes Live

  • Once approved, your app becomes available on the Play Store.

  • Monitor performance, reviews, and crash reports in the analytics dashboard.

Share this:

  • Click to share on Facebook (Opens in new window) Facebook
  • Click to share on X (Opens in new window) X

Like this:

Like Loading...
This entry was posted in Mobile App, Mobile App Development, Mobile App Development, React Native and tagged AAB file upload guide, Android app publishing steps, App release process Android, Data safety form Play Store, Google Play Console deployment, Google Play publishing guidelines, Google Play Store listing optimization, How to publish app on Play Store, Play Console developer account, Upload APK to Google Play on November 30, 2025 by surajkumar.

Post navigation

← Best Mobile Development Choice: React Native with Expo or Emulator? How to Update Your Mobile App Release on Google Play Store →

Products

  • Create Invoices Easily with InvoiceUp Create Invoices Easily with InvoiceUp
  • TradeGo - Add Listing Everywhere TradeGo - Add Listing Everywhere
  • Expense Tracker - Easily Track Expense Anytime Expense Tracker - Easily Track Expense Anytime
  • Smart GST Accounts Software Smart GST Accounts Software
  • Complete GST Billing Software Complete GST Billing Software
  • Fast & Easy Restaurant Billing Software Fast & Easy Restaurant Billing Software
  • Easy Appointment Booking Easy Appointment Booking
  • All-in-One Hotel Booking Management Software All-in-One Hotel Booking Management Software
  • Manage Projects Faster with Laravel & MySQL System Manage Projects Faster with Laravel & MySQL System
  • Modern Learning Management System Modern Learning Management System
  • Blog (12)
  • Bootstrap (2)
  • Flutter (2)
  • JavaScript (6)
  • JWT (2)
  • Mobile App (4)
  • Mobile App Development (9)
  • Next.js (7)
  • Nuxt.js (1)
  • Offline Training (3)
  • Python Django (15)
  • React .js (5)
  • React Native (5)
  • Services (13)
  • Tailwind (2)
  • Web Development (13)

Recent Posts

  • Learn Tailwind CSS in Ten Days with Easy Step-by-Step Guide
  • Learn Bootstrap in Ten Days with Easy Step-by-Step Guide Plan
  • Bootstrap and Tailwind CSS Comparison for Modern, Responsive Web Development
  • Django vs Python: Understanding Which Is Easier for Developers Today
  • Why JWT Is Better Than Other Authentication Methods for Security?
Proudly powered by WordPress
%d