React Native Tutorial for Beginners: Build Your First Mobile App with Expo
📱 Introduction
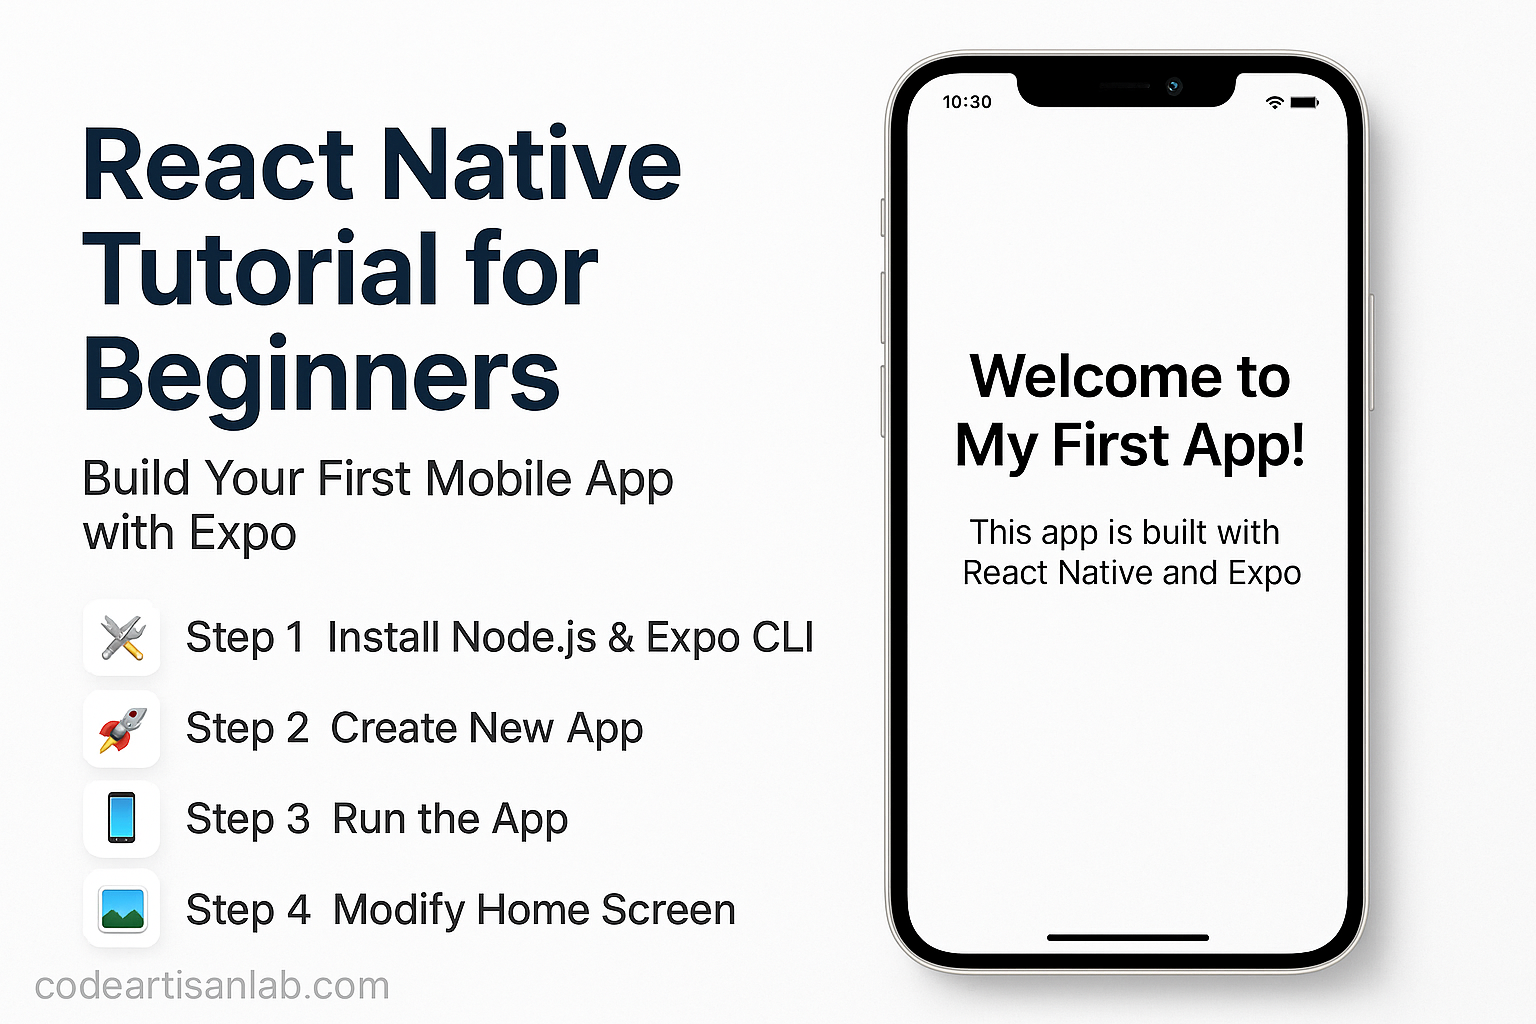
Welcome to your first mobile app development tutorial using React Native and Expo! This step-by-step guide is ideal for beginners who want to create Android and iOS apps using just JavaScript.🛠️ Step 1: Install Node.js & Expo CLI
Make sure you have Node.js installed. Then, install Expo CLI globally:npm install -g expo-cli🚀 Step 2: Create a New React Native App
npx create-expo-app my-first-appcd my-first-app📱 Step 3: Run the App
npx expo start🖼️ Step 4: Modify the Home Screen
// App.js
import { Text, View, StyleSheet } from 'react-native';

export default function App() {
  return (
    <View style={styles.container}>
      <Text style={styles.heading}>Welcome to My First App!</Text>
      <Text>This app is built with React Native and Expo.</Text>
    </View>
  );
}

const styles = StyleSheet.create({
  container: {
    flex: 1,
    backgroundColor: '#fff',
    alignItems: 'center',
    justifyContent: 'center',
    padding: 20,
  },
  heading: {
    fontSize: 24,
    fontWeight: 'bold',
    marginBottom: 10,
  },
});
🧭 Step 5: Add Navigation
Install React Navigation:npx expo install @react-navigation/nativenpx expo install react-native-screens react-native-safe-area-context react-native-gesture-handler react-native-reanimatednpm install @react-navigation/native-stackscreens with two files: HomeScreen.js and AboutScreen.js.
// screens/HomeScreen.js
import { View, Text, Button } from 'react-native';

export default function HomeScreen({ navigation }) {
  return (
    <View style={{ padding: 20 }}>
      <Text>This is the Home Screen</Text>
      <Button title="Go to About" onPress={() => navigation.navigate('About')} />
    </View>
  );
}
// screens/AboutScreen.js
import { View, Text } from 'react-native';

export default function AboutScreen() {
  return (
    <View style={{ padding: 20 }}>
      <Text>This is the About Screen</Text>
    </View>
  );
}
🧩 Step 6: Setup Navigation in App.js
import { NavigationContainer } from '@react-navigation/native';
import { createNativeStackNavigator } from '@react-navigation/native-stack';
import HomeScreen from './screens/HomeScreen';
import AboutScreen from './screens/AboutScreen';

const Stack = createNativeStackNavigator();

export default function App() {
  return (
    <NavigationContainer>
      <Stack.Navigator>
        <Stack.Screen name="Home" component={HomeScreen} />
        <Stack.Screen name="About" component={AboutScreen} />
      </Stack.Navigator>
    </NavigationContainer>
  );
}
🎉 Final Thoughts
You've now built your first React Native app with navigation! With just JavaScript and Expo, you created a working mobile app that runs on both Android and iOS. Next, you can add more features like images, lists, API integration, and Firebase! Happy Coding! 🚀
react native tutorial
react native for beginners
react native mobile app
create mobile app with expo
expo react native guide
simple react native app
react native project example
beginner mobile app tutorial
javascript mobile app
mobile app development
cross-platform app tutorial
react native step by step
mobile ui react native